Related Articles

Introduction

  • The Gradient Map Adjustment Layer is a way of non-destructively adding a gradient map to an image to colour tone it. It is preferable to the similar Gradient Tool which applies a gradient destructively.
  • One problem is that with Normal Blending Mode the brightness and contrast can be altered dramatically, however changing the Blending Mode to Colour only changes the colour values. Luminosity can also work well. Soft Light does not affect midtones, only shadows and highlights.
  • Adjust the Opacity and Fill to control the intensity of the effect.

Adding a Gradient Map

  1. On the layers panel click the Add Adjustment Layer icon and select Gradient Map. Alternatively add this from the Menu bar as Layer > New Adjustment Layer > Gradient Map.
  2. This creates a Gradient Map Adjustment icon
  3. A white mask is created at the same time, which is linked and shows all the content.

The Properties Panel

  • Open the Properties Panel and check that the Gradient Map Adjustment Icon (2) is selected. This gives you several options -
  1. Drop down menu.
  2. Gradient icon. Click on the other icon for the mask properties.
  3. Gradient map. Single click on this to bring up the gradient editor.
  4. Create a clipping mask to the layer below.
  5. Press to view previous state. Can also use \ instead.
  6. Reset to adjustment defaults.
  7. Toggle layer visibility.
  8. Delete this adjustment layer.
  • The gradient map is like a histogram, the left hand side is the colour that will be applied to blacks and the right hand one to whites and all other tones are in between.
  • Dither is used where there is banding of the gradient and it adds some noise to even this out.
  • Reverse just reverses the gradient left to right.

Gradient Map Properties Panel

The Gradient Editor

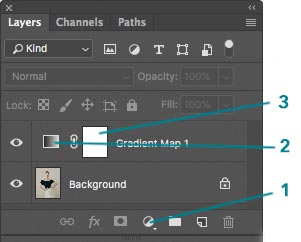
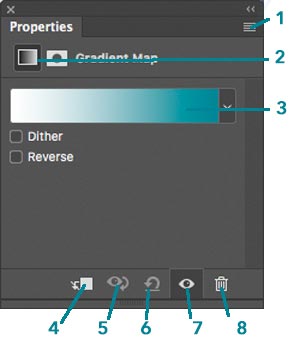
  • Bring up the Gradient Editor by single clicking on the gradient in the Properties Panel (3).
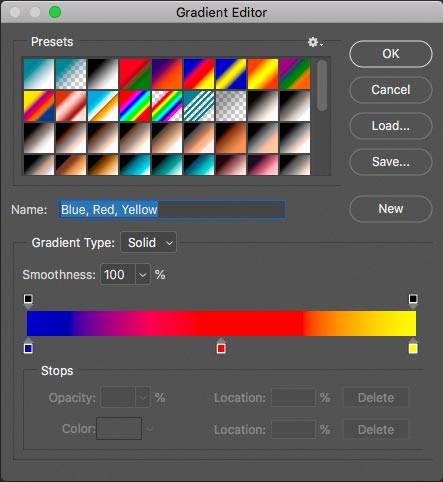
  • Presets shows the gradients you have currently loaded onto your computer. There are many more available in Photoshop which are not yet loaded onto your computer which you can access by clicking on the gear icon's drop down menu. 
  • When you add more gradients you can either wipe out the presets you have and replace then with just the new ones, or add the new ones to the end of your existing presets (Append), which is usually preferable. (Ref 5:15).
  • The Photo gradients are particularly useful and have tones in them which map well with skin tones in portraits.
  • You can create and save your own gradient maps. Do not use the SAVE button but use the NEW button after adding a name. (Ref 12:06).
  • All the points and colours on the gradient maps are editable. You can change the tones affected by dragging the pointers left and right, and clicking on the pointer brings up its colour in the Colour box at the bottom which you can then edit. (Ref 3:15)

The Gradient Editor


Articles

Videos